Menu
-
Products
Products
- Show all in Products
-
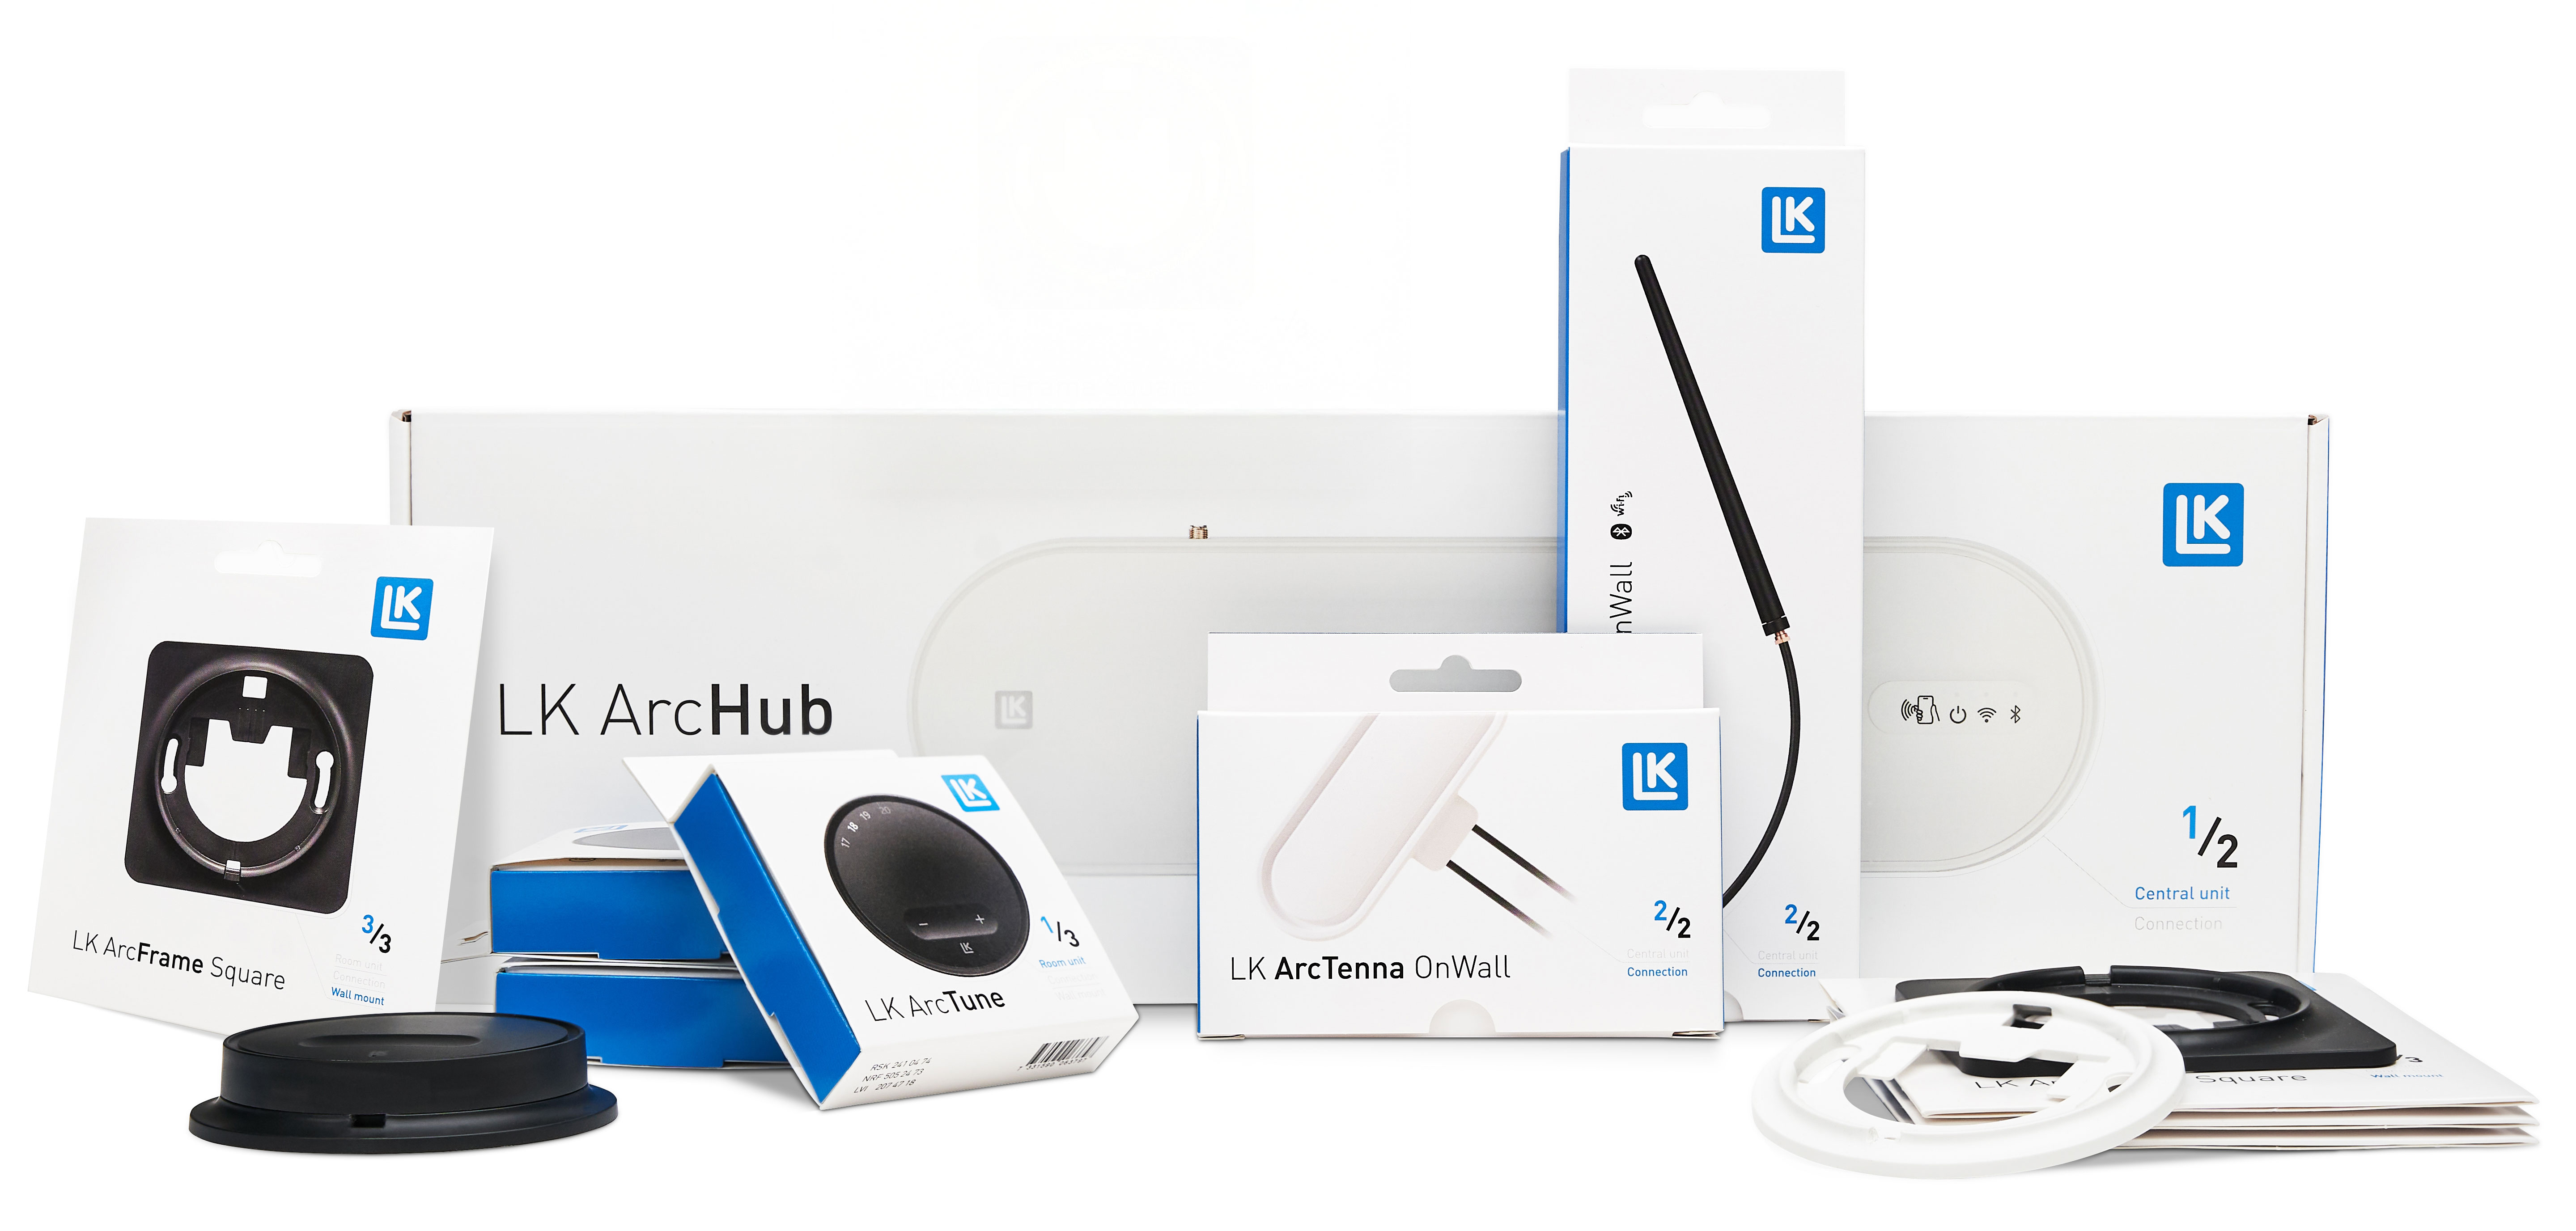
Floor Heating
-
Universal
-
Snow Melting
-
Hydronic System
-
Press Tools
Press Tools
- Prefabricated solutions
-
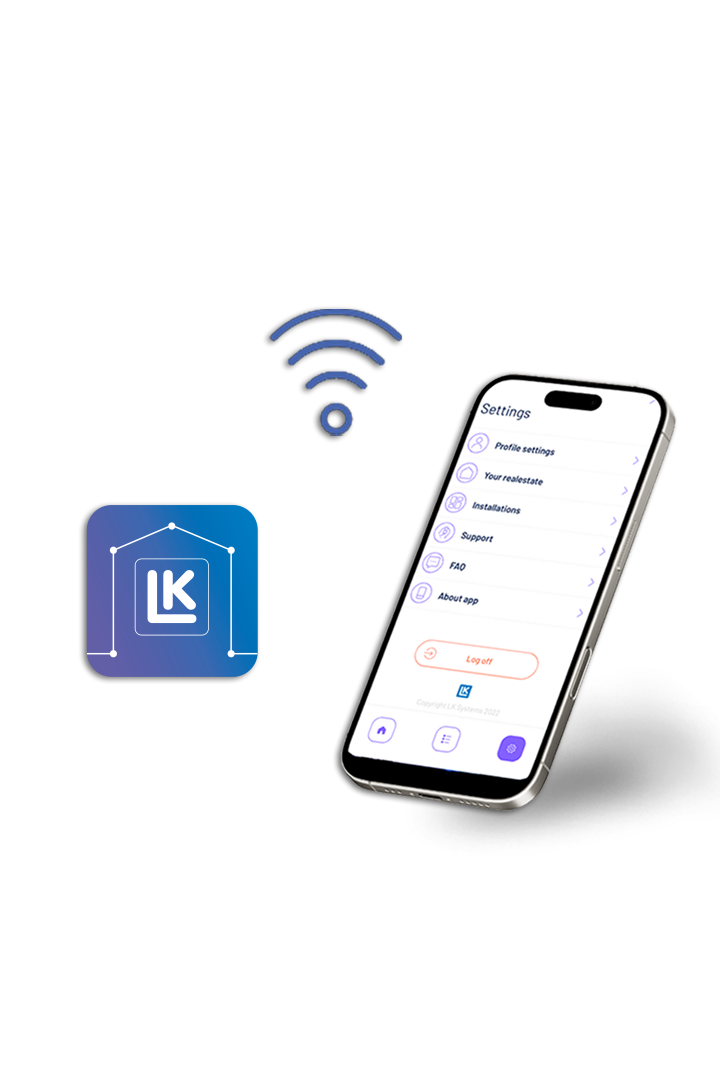
Measurement Tools
Measurement Tools
-
System solutions
-
Documentation
- Sustainability
-
Support
-
About us
LK Group
LK Group
-
LK Systems
-
LK Armatur
-
LK Pex
Our PEX Pipe Extrusion business area is an innovative manufacturer of high-quality plastic pipes for the heating and plumbing industry. Our core is the efficient, high-technology production process for crosslinked PE-Xa pipes, resulting in products with a unique combination of flexibility and hydrostatic strength. English -
LK Group